Deploying Docker on Azure
The method presented here is to help you to start using our Docker on Microsoft Azure. We present an easy way and it's not intended to be the best in performance.
The best is to make it private and only accessible from your apps.
Table of content
Creation of the Storage
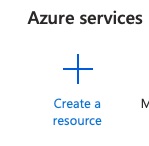
Go to Microsoft Azure Portal home page and click "Create a resource".
In the search box, type "storage account" and search. Select "Storage Account"
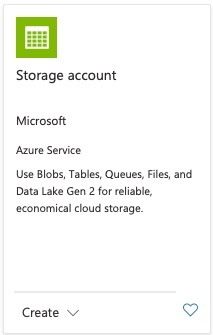
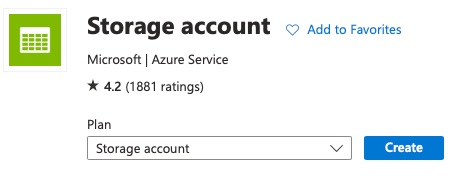
Click on "Create"
Fill the form with values that suits you
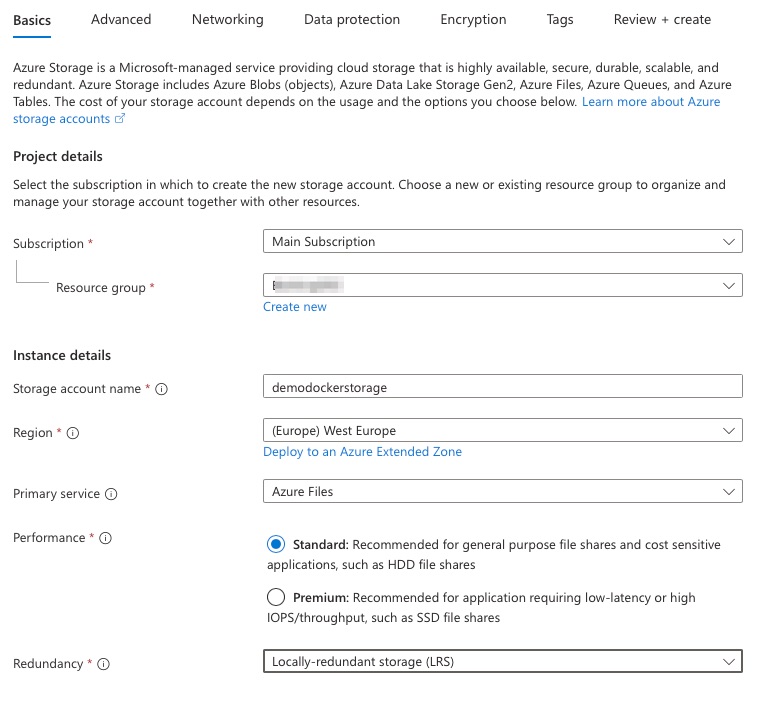
And click on "Review + create" then review it and click on "Create". Wait for the creation and click on "Go to resource".
Creation of the File Share
In the resource, click on "Data storage" then "File shares"
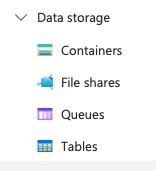
And click on "+ File share"

Give it a meaningful name

Click on "Review + create", check the values and click on "Create".
You can create multiple File Shares if you have multiple Dockers (dev, prod...) to use different configurations.
Uploading the files on the File Share
In the File Share, click on "Browse" then "Upload"
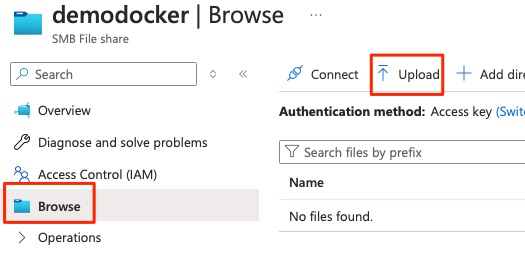
The content of the config.json can be found in our documentation for Gateway or Private mode.
Security concerns
You should also review the Access Control (IAM) of the resource to be sure that the access is restricted to the least access possible. You can (should) create an identity for the web app and only allow the admins and this web app to access it.

You can do it at the level of the Storage account or the File Share you've just created.
Creation of the web app
Go to Microsoft Azure Portal home page and click "Create a resource".
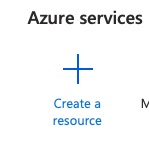
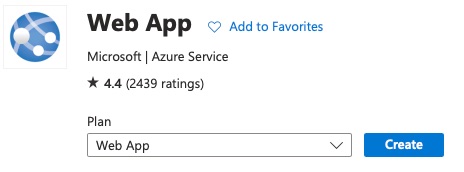
In the search box, type "web app" and search. Select the "Web App"
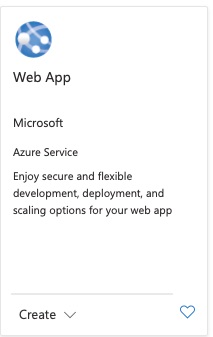
Click on "Create"
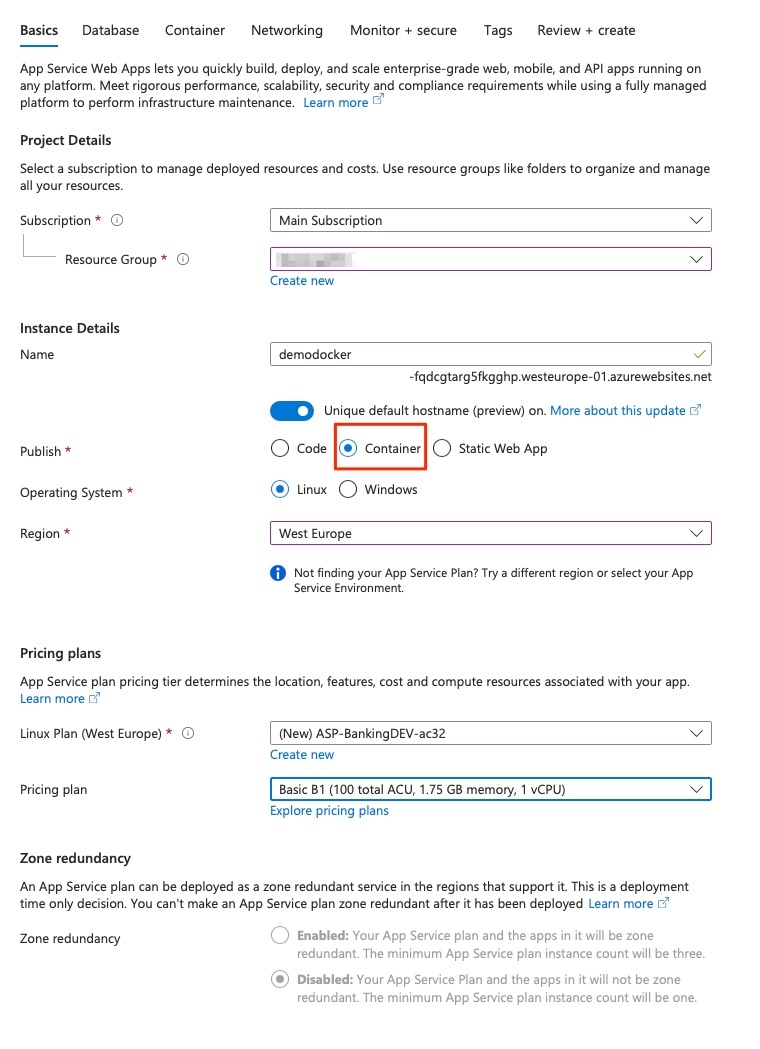
Adapt the values to your need
Go to "Container" tab
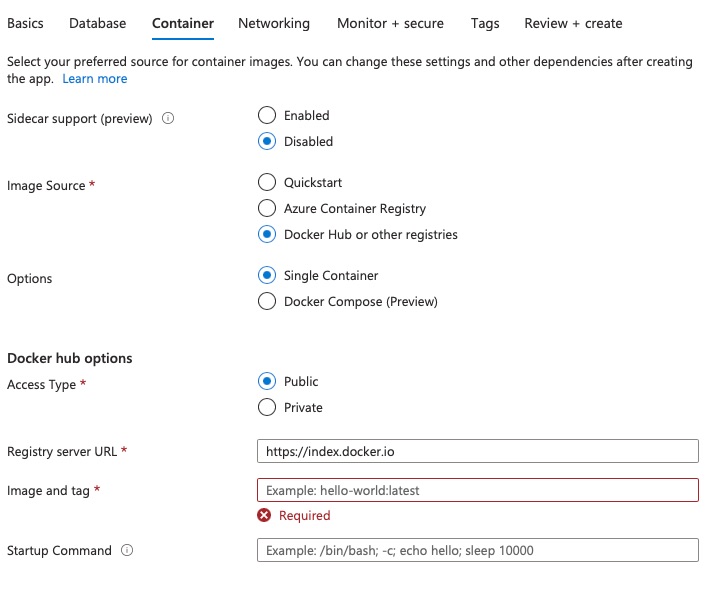
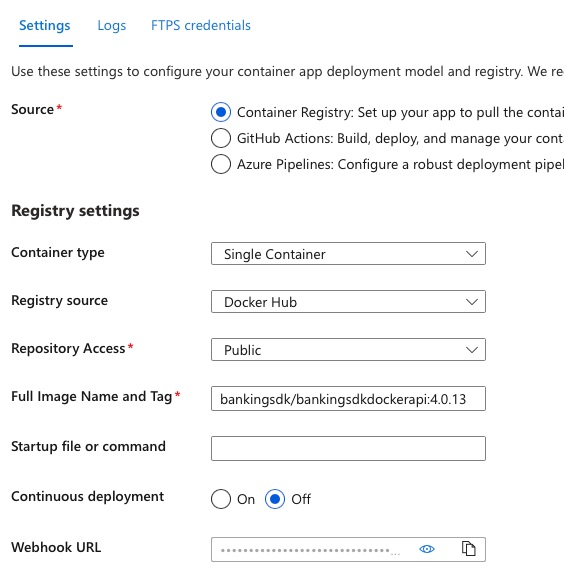
input "bankingsdk/bankingsdkdockerapi:<version>" in "Image and Tag" field where "<cersion>" is the last version (4.0.13 at the time of writing).
Click "Review + Create", review the parameters and click "Create". When the resource is created, click on "Go to resource" and then on ""Settings" > "Configuration" > "Path Mappings" > "+ New Azure Storage Mount"
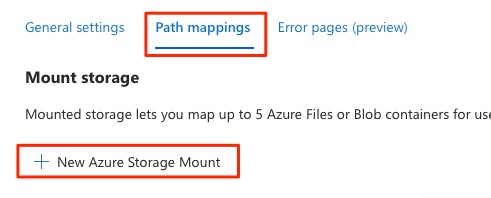
Configurez the mapping
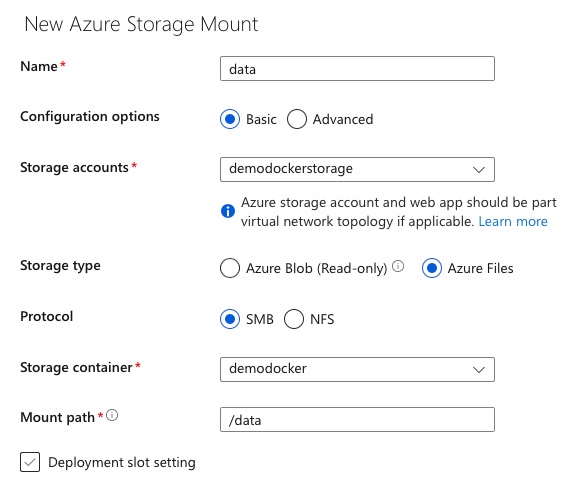
and save it
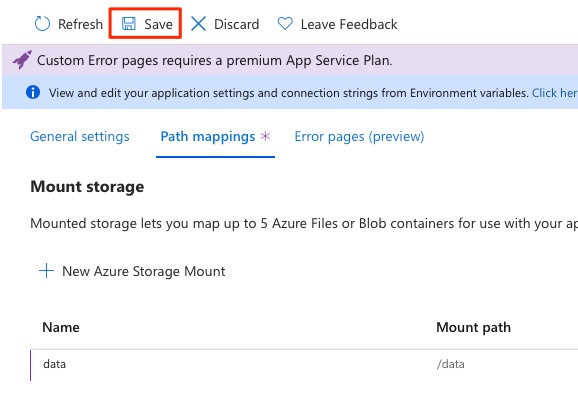
You may need to restart the web app.
Go to "Deployment" > "Deployment Center"
Check that it look like this
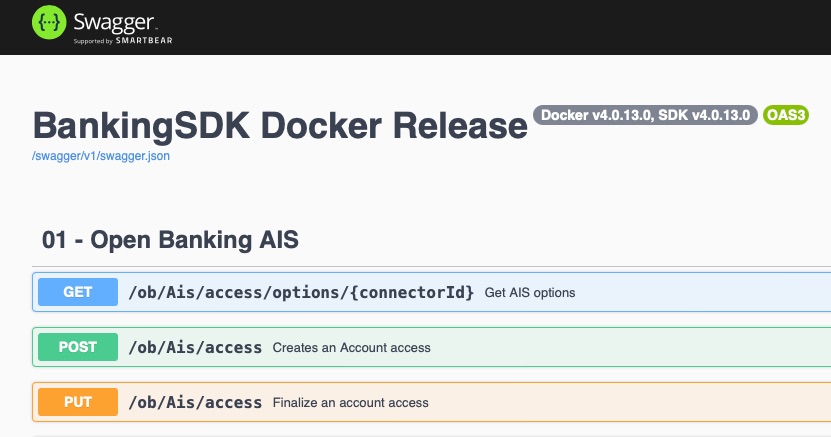
Open the URL of your Docker and you'll see the Swagger page
Activate the telemetry in App insight
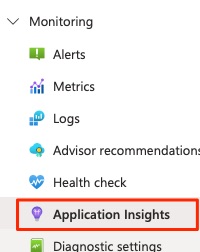
In you Web App resource, go to Monitoring" > "Application Insights"
Turn it on

And configure the telemetry.
Go to this App Insights resource and copy the connection string

Go back to the config.json in Storage Account and edit the file. Add at the end:
"InsightsTelemetryConnectionString": "<the connection string>"
Be sure to respect the JSON syntax!
Save and restart you Docker and you'll see the logs coming to you App Insights telemetry.